
You need a few pencils, two erasers, decent paper, and a sharpener. That is genuinely it. Everything else can wait until you know what you actually want to draw and what is getting in your way.
What Art Supplies Do I Need to Start Drawing: The 7 Supplies I Tell Every Beginner to Buy First
After six years behind the counter of an art supply shop, the thing I did most was talk overloaded baskets back down to something sensible. Purchasing a few essential drawing materials suffices for beginners, and basic drawing supplies do not need to be expensive or extensive. The whole starter kit below costs less than a takeout dinner for two. You can read more about my background on the about page.
-
A small set of graphite pencils: 2H, HB, 2B, and 4B. A drawing kit can contain an HB, 2B, and 4B pencil and still cover nearly everything.
-
One mechanical pencil (0.5 or 0.7 mm) if you already own one.
-
A kneaded eraser and a white vinyl eraser.
-
A basic A4 drawing paper pad, around 90 to 120 gsm.
-
A cheap sketchbook with at least 80 pages.
-
A handheld metal sharpener.
-
Optional: a small set of 12 colored pencils for when you want color.
Pencils are versatile tools for sketching and drawing, and you do not need a huge hoard of art supplies to begin. You just need materials you feel okay messing up. Ignore specialty tools, fancy brands, and expensive fountain pens until you have filled at least one sketchbook page a day for a week. Everything else can wait until you have drawn most days for a few weeks and know what is actually bothering you.
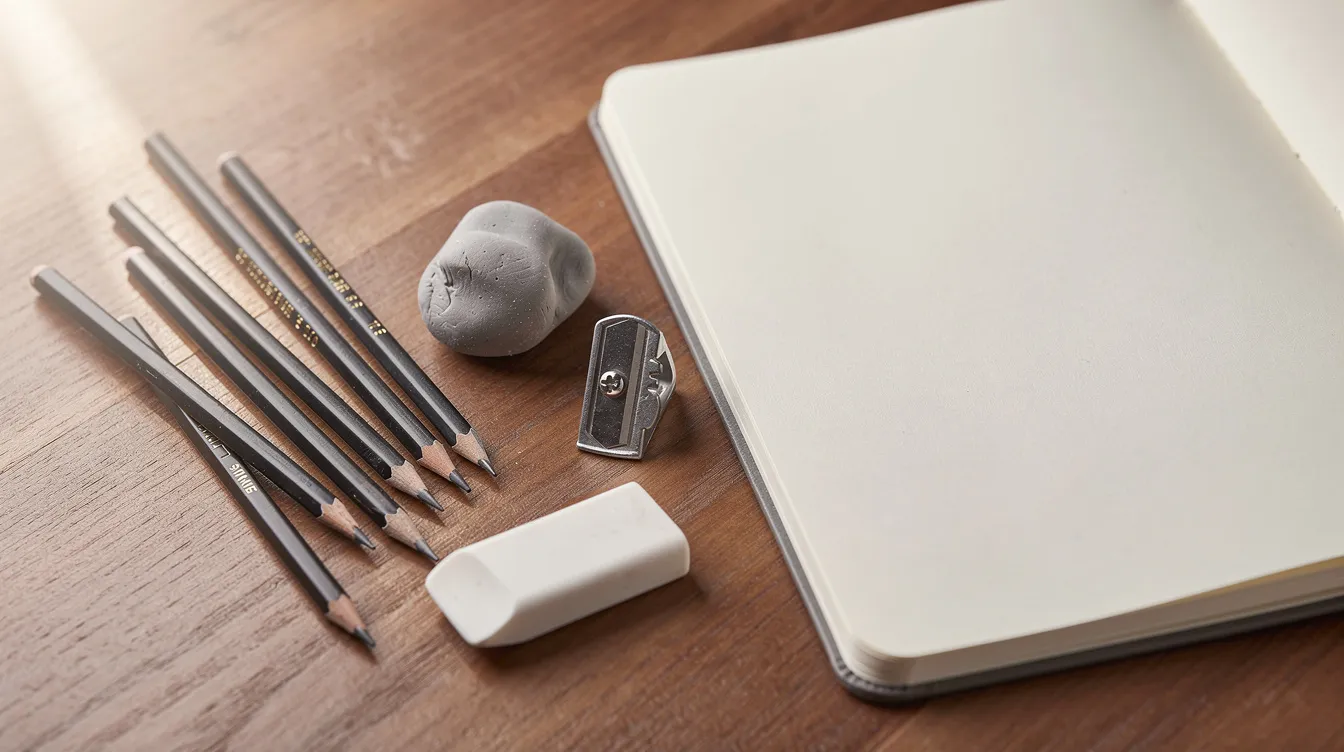
Graphite Pencils: How Many Do You Actually Need?
Graphite pencils are still my main drawing tool after years of trying every medium I could get my hands on. They create smoother and more precise lines than most other dry mediums, and graphite pencils are available in varying hardness levels, from hard (H grades, lighter marks) to soft (B grades, darker marks). A small variety of graphite pencils provides a range of light and dark tones without needing a full tin.
-
2H for light guidelines and construction lines.
-
HB as an everyday all-rounder with a silver gray tone.
-
2B for darker lines and moderate shading.
-
4B or 6B for rich, bold shading and value studies.
The big tin of twenty pencils is what I most often talked people out of. The extreme grades are for specific jobs, and the hardest ones can score grooves into your paper. Buy open stock of three or four pencils. Staedtler Mars Lumograph, Faber-Castell 9000, and Derwent Graphic are all reliable picks at the brand level. Most practice drawings in my own 2024 sketchbooks were done almost entirely with HB and 2B. Graphite pencils are ideal for technical and detailed drawings, but they also handle loose sketching just fine.
Student grade graphite is perfectly good for the first few months. Upgrading later mostly improves smoothness and consistency, not talent. You will not master the process any faster with a pricier pencil. If you want a shortlist, I break down which drawing pencils a beginner should buy in a separate post.
Mechanical Pencil vs Wooden Pencil: Which Should You Start With?
Most beginners already own a mechanical pencil somewhere in a desk drawer. Is it good enough to start drawing? Yes.
-
A 0.5 or 0.7 mm mechanical pencil holds a constant sharp point, which is a great tool for line-focused practice like perspective, crosshatching, or straight lines. Cheap refills, fits in your pocket, and works in a tiny apartment with no space for a big setup.
-
Wooden pencils still do some things better: broader range of values, expressive line variation, and covering large areas of shading that would be tedious with a thin mechanical lead.
Start with whichever you already own, then add a small wooden graphite set once you begin caring about soft tones and shading. I watched architecture students in the shop swear by mechanical pencils for crisp lines, but when they moved into studio art, they almost always came back for wooden ones too.
Drawing Paper, Sketchbooks, and When Quality Really Matters
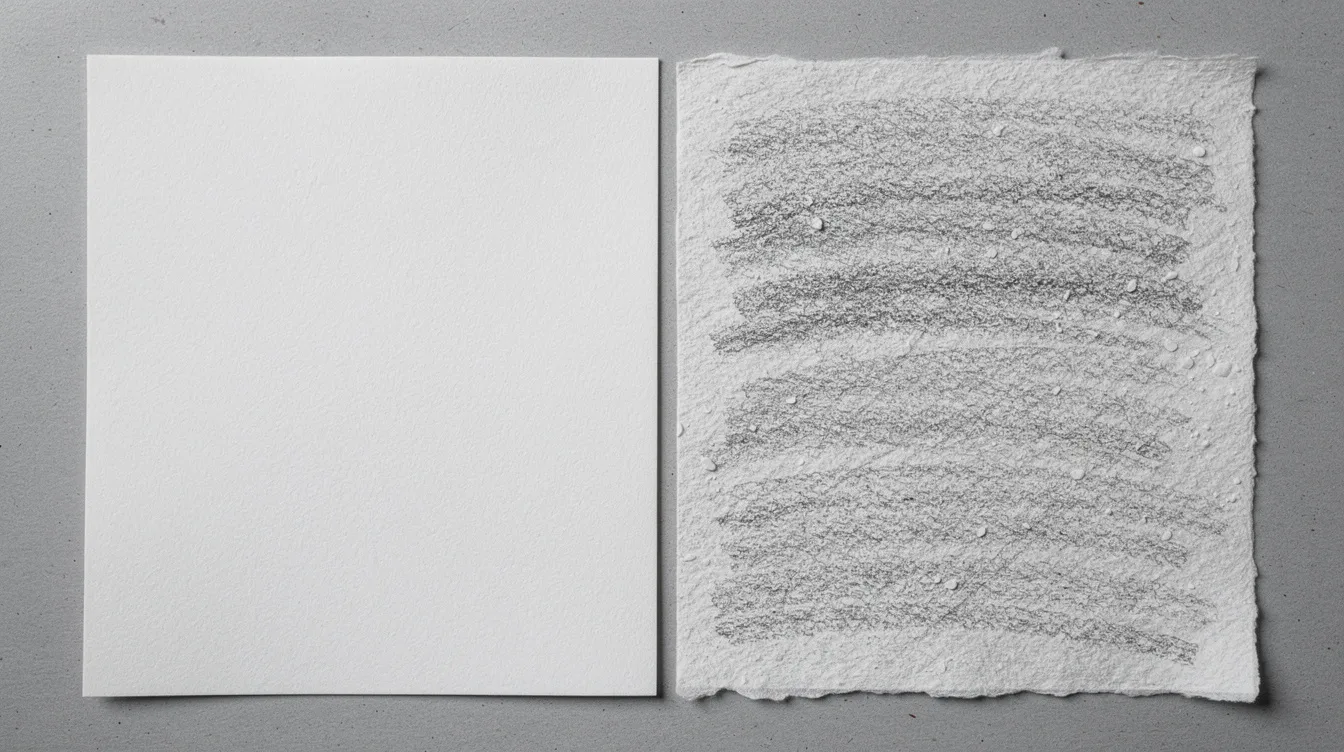
Here is my strongest opinion in this entire post: cheap paper makes people think they cannot draw. Printer paper is thin and slick. Graphite skates across it, goes shiny, and the surface pills after two erasures. People blame their hand when the problem is the paper. Drawing paper varies in texture, weight, and tone, and the right surface makes an enormous difference.
-
Drawing paper pads: Look for smooth white sheets around 90 to 120 gsm, good for pencil practice, portraits, and everyday studies. Drawing paper comes in pads, sketchbooks, sheets, and rolls. Canson XL is about as budget as I would go. Strathmore 400 Series is a step forward that handles erasing much better. Sketching paper is lighter for quick drawings, while illustration boards and bristol are thick drawing surfaces suited for finished pieces.
-
Sketchbooks: An A5 or A4 size, spiral bound for lying flat, with at least 80 sheets. An ideal sketchbook has medium-weight paper around 70 to 100 lb. The size you will actually carry and open beats the “better” size you leave at home.
-
Paper texture: Smooth surfaces let you draw fine detail. Medium tooth grips graphite so you can build tone in layers and get different effects from the same pencil. Start with medium tooth since it works with both pencils and colored pencils. For reference, charcoal and pastel paper has a rough texture, while marker and pen paper features a smooth surface.
-
When to upgrade: If your paper smudges, tears when you erase, or you want to combine wet media with graphite, spend more on paper. If you have a few extra dollars, put them into paper before pencils. Toned paper in mid-gray or tan, paired with a white pencil for highlights, is an optional upgrade once you want to practice painting light and dark together.
Erasers, Sharpeners, and Blending Tools That Won’t Ruin Your Work
I spent six years behind a counter watching good drawings mangled by bad erasers, so I tend to be picky here on your behalf. For the history of the material, the Wikipedia article on erasers is a decent starting point.
-
Kneaded eraser: Gentle on drawing paper. A kneaded eraser does not ruin the texture of drawing paper. You can shape it to a point to pull out highlights or press it flat to soften a shadow. It lifts graphite rather than grinding it away.
-
Vinyl or plastic eraser: A small white block like Pentel Hi-Polymer or Staedtler Mars Plastic will cleanly erase construction lines. The very cheapest ones can be hard and greasy and leave ghost marks. The pink school-pencil erasers smudge and roughen paper. Skip them.
-
Sharpener: A handheld metal pencil sharpener is recommended for clean pencil tips. Get one with a replaceable blade and a small container for shavings. Turn the pencil instead of the sharpener to avoid breakage. Cheap plastic sharpeners chew the wood and snap lead, which feels like a pencil problem but is a sharpener problem.
-
Blending stumps and tissue: Blending stumps help smooth out graphite transitions and shadows, but in my view they teach beginners to smear everything. Focus on learning to shade with pencil strokes first. Try a tissue or cotton swab if you want a smoother gradient. Buy tortillons only if you enjoy that style and prefer controlled blending over loose hatching.
Colored Pencils: When To Add Color To Your Drawing Kit
Many readers are returning to drawing through adult coloring books and already own a set of colored pencils, maybe old crayons or a tin from years ago. Those are fine to start with. Do not worry about having the perfect palette on day one. If you want specific picks, see the best colored pencils for beginners.
-
Starter sets: A 12 or 24 color set is plenty for practice. Colored pencils provide a full-color spectrum for drawing even in smaller sets. My advice: a modest set of good quality pencils beats a giant set of waxy ones, and more vibrant colors do not automatically make better drawings. You can experiment with color and blending without owning sixty shades.
-
Wax vs oil based: The two main types of colored pencil cores feel different. Wax-based cores are creamier and easier to blend. Oil-based cores hold a point longer for detail. Colored pencils can have soft or hard cores for different effects. Do not obsess over this in year one.
-
Paper and care: Colored pencils prefer slightly toothy drawing paper, since smooth printer paper leads to waxy buildup. Use a gentle, sharp sharpener and store pencils flat to prevent the cores from cracking. Handy tip: try layering colored pencils over light graphite sketches, keeping lines faint so they do not show through skin tones or skies.
Optional Inks, Fountain Pens, and Digital Art Tools For Later
This section is for curious readers who already enjoy pens, draw on tablets, or want to experiment beyond graphite. None of this is mandatory.
-
Fineliners and inking pens: Waterproof black ink pens in 0.3 to 0.5 sizes are an easy upgrade for line art once you feel comfortable with pencil. Fineliner pens are available in nib sizes from 0.005 to 1.0, so you can get very fine lines or heavier ones. Pigment-based ink is waterproof and does not fade, while dye-based ink can bleed or run when you layer over it, so test it on your paper before you buy. Markers produce different results depending on their ink type: alcohol markers cover large areas with bold, even color, while water-based markers are usually less likely to bleed on wet paper.
-
Fountain pens: Some artists love them for expressive line work, quick urban sketching, calligraphy practice, and because a fountain pen is reusable and can be filled with different inks. Fountain pens can use waterproof inks for sketching. Nibs also vary a lot, including bent fude nibs for varied linework, so pick one that fits your sketching style. They are fun but not a required beginner supply. Charcoal is available in compressed, vine, or pencil formats and is wonderful for gesture drawing, but it is messy, so try it after a month of graphite. Pastels are available in soft, hard, and oil types, and gouache and watercolor paints open up painting as a medium, but those are separate mediums entirely. If you plan to explore watercolor later, you will want watercolor paper (heavier, sized for wet media), synthetic brushes (more economical than animal hair brushes), and possibly water brushes with a built-in water reservoir for convenience. Travel brushes come with a protective cover and handle. Brush sizes typically range from 4 to 16 for versatility, and professional brushes can be used with both watercolors and inks. Winsor & Newton offers a colored ink set of 8 if you want to build a liquid color palette.
-
Digital art: An entry-level tablet or iPad with a stylus can be a great tool, but values, perspective, and gesture transfer directly from simple pencil on paper. Master one basic analog setup before spreading your budget across digital art, markers, inks, and specialty tools.
Building Your First Portable Drawing Kit (What I Carry Today)
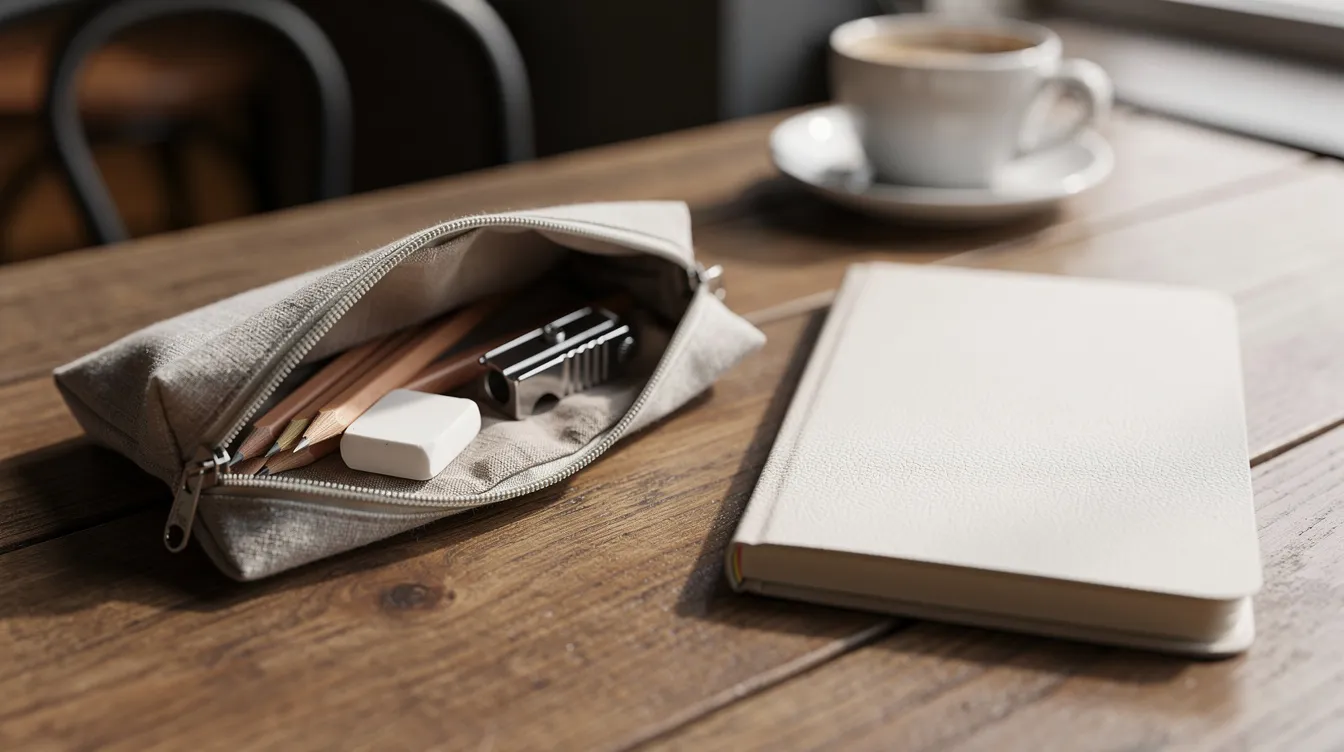
As of 2026, my everyday sketch kit fits in a single zip pouch. After years surrounded by art supplies, I carry remarkably little.
-
In the case: HB wooden pencil, one mechanical pencil, a 2B, kneaded eraser, tiny vinyl eraser, metal sharpener, and a handful of colored pencils for accent color.
-
Alongside it: One main sketchbook plus a cheap loose pad for experiments, thumbnails, and warmups. A backing board for the flimsy pad, and a small cloth for smudges.
One of my favorite stories from the shop: a retired gentleman walked in with a two-page list pulled from videos. When he told me he wanted to draw the birds at his feeder, he left with three pencils, a Strathmore pad, two erasers, and a sharpener. Two months later he came back for a second pad and a 6B. His sketchbook was full of sparrows. The point is straight: draw first, then buy for the problems you actually run into.
Once you have a basic kit, your main “supply” is time spent actually drawing, not more shopping.
What To Practice Once You Have Your Supplies
Buying art supplies is the easy part. The real progress comes from putting drawing paper on the table and making marks regularly.
-
The habit nobody sells you: Keep the pad and one pencil where you will see them. Ten minutes a day beats a three-hour session on Saturday. You can draw for 15 to 20 minutes every day to improve. Basic practice for beginners includes drawing shapes and shading techniques: quick lines, circles, and boxes with a mechanical pencil or HB pencil to build control.
-
Value studies: Small grayscale boxes and simple objects like mugs or fruit to learn light and shadow before worrying about full compositions. This is where your range of graphite grades earns its keep.
-
Sketching from life: Common household items, your own hand, and scenes out the window are low-pressure ways to fill pages. Then experiment with colored pencils by adding subtle color to a graphite drawing, followed by one small piece using only color.
Pick up whatever pencil is closest to your head and hand right now and draw something on the nearest piece of paper. It does not need to be good. It needs to exist. If you have questions, leave them in the comments.
FAQ
Can I start drawing with a regular No. 2 pencil? Yes. It is roughly an HB, and plenty of good drawings have been made with one. Add a 2B or 4B once you start shading, because a No. 2 will not get very dark on its own.
Do I need a sketchbook or loose paper? Either works. A sketchbook keeps your practice in one place so you can see progress over a month, while loose sheets suit larger work or pinning a drawing up on the wall.
Should I buy a beginner drawing kit? Usually not. Most kits pad the box with things you will not use, and the paper inside is often the weakest part. Buy three pencils, a pad, and two erasers separately. You will spend less and get better materials.
How long before I should upgrade my supplies? When something specific frustrates you. Add a softer pencil if darks are not dark enough, or a heavier pad if paper pills when you erase. Let the problem tell you what to buy, not a marketing email.